Indian Army Drawing: In this article, you will learn about step-by-step tutorials for drawing Indian army themes. With Indian Army Day being celebrated on January 15th, it’s a great opportunity to honor the sacrifices of our armed forces. The article provides tutorials for various drawing techniques, such as oil pastels, simple paintings, watercolors, and pencil drawings.


By following these tutorials, you can learn how to draw soldiers, the Indian national flag, and other elements related to the armed forces. These tutorials aim to help children pay tribute to the brave soldiers and appreciate their bravery and valor. It’s a fun and creative way to show your support and learn about the importance of valuing the sacrifices made by our armed men to keep our nation safe.
Step-by-Step Tutorials for Indian Army Drawing Painting
Indian Army Day is celebrated on 15th January every year to honor the sacrifices of armed forces. It is a day dedicated to paying tribute to the bravery and valor of those who protect and serve our nation. In order to help children appreciate and understand the significance of this day, this article provides step-by-step tutorials for drawing different army-related themes. These tutorials aim to encourage children to value the sacrifices made by armed men and women and develop an appreciation for their dedication towards keeping our country safe.
Tutorial 1: Oil Pastel Drawing
Materials needed
To create an oil pastel drawing, you will need the following materials:
- Oil pastels
- Drawing paper
- Pencil
- Eraser

Step 1: Sketching the outline
Start by sketching the outline of the subject you want to draw using a pencil. This will serve as a guide for adding colors later on.
Step 2: Adding colors with oil pastels
Next, start adding colors to your drawing using oil pastels. Use vibrant colors to bring your artwork to life.
Step 3: Blending colors for a smooth finish
To create a smooth and blended effect, use your fingers or a blending stump to blend the colors together. This will give your drawing a professional and polished look.
Step 4: Adding details and highlights
Once you have added the base colors, add details and highlights to your drawing. Pay attention to the smaller elements in your subject and add shading and texture accordingly.
Step 5: Finalizing the artwork
To finalize your oil pastel drawing, go over the entire piece and make any necessary adjustments or enhancements. Erase any visible pencil lines and add any final touches to complete your artwork.
Tutorial 2: Simple Painting
Materials needed
To create a simple painting, gather the following materials:
- Paintbrushes
- Canvas or painting paper
- Acrylic or watercolor paints
- Palette
- Water container
Step 1: Preparing the canvas
Start by preparing your canvas or painting paper. Apply a layer of gesso to the surface to create a smooth and even texture for your painting.
Step 2: Sketching the main subject
Using a pencil, sketch the main subject of your painting. This will serve as a guide for adding colors later on.
Step 3: Applying base colors
Begin by applying the base colors to your painting. Use broad brushstrokes and build the layers gradually to create depth and dimension.
Step 4: Adding details and textures
Once the base colors have dried, add details and textures to your painting. Use smaller brushes or even a palette knife to add texture and depth to your artwork.
Step 5: Final touches and highlights
To complete your painting, add any final touches and highlights. Pay attention to light and shadow and add highlights to create a sense of depth and realism.
Step 6: Completing the painting
Once you are satisfied with your painting, step back and evaluate your work. Make any necessary adjustments or enhancements and let your artwork dry completely before displaying it.
Tutorial 3: Watercolor Drawing
Materials needed
To create a watercolor drawing, you will need the following materials:
- Watercolor paints
- Watercolor paper
- Paintbrushes
- Palette
- Water container
Step 1: Planning the composition
Before starting your watercolor drawing, plan the composition and layout of your artwork. Consider the placement of the main subject and any additional elements you want to include.
Step 2: Wetting the watercolor paper
Start by wetting the watercolor paper using a clean brush and water. This will help the paint blend smoothly and create beautiful gradients.
Step 3: Creating the background
Begin by painting the background of your drawing. Use broad brushstrokes and layer different colors to create depth and interest.
Step 4: Adding the main subject
Once the background has dried, add the main subject of your drawing. Use a smaller brush for finer details and add multiple layers of paint to create depth.
Step 5: Adding details and highlights
Next, add details and highlights to your watercolor drawing. Use a lighter shade of the same color or even white to add highlights and create a sense of depth.
Step 6: Finalizing the watercolor drawing
To finalize your watercolor drawing, step back and evaluate your work. Make any necessary adjustments or enhancements and let your artwork dry completely before displaying it.

Tutorial 4: Pencil Drawing
Materials needed
To create a pencil drawing, gather the following materials:
- Pencil set
- Drawing paper
- Eraser
- Blending stump
Step 1: Choosing the reference image
Start by choosing a reference image for your pencil drawing. This could be a photograph or a picture that inspires you.
Step 2: Outlining the main subject
Using a pencil, outline the main subject of your drawing. Pay attention to proportions and make sure to capture the essence of the subject.
Step 3: Shading and adding depth
Next, start shading your drawing to create depth and dimension. Use different pencil grades to achieve a range of tones, from light to dark.
Step 4: Adding finer details
Once you have established the basic shapes and shading, start adding finer details to your drawing. Use a sharpened pencil and a light touch to add texture and realism.
Step 5: Creating realistic textures
To create realistic textures in your pencil drawing, pay attention to different surfaces and materials. Use cross-hatching, stippling, or other shading techniques to mimic textures like wood, fabric, or metal.
Step 6: Final touches for a polished pencil drawing
To complete your pencil drawing, step back and evaluate your work. Make any necessary adjustments or enhancements and erase any visible pencil lines. Use a blending stump to smudge and blend certain areas to create a polished and professional look.
Tutorial 5: Drawing Soldiers
Materials needed
To draw soldiers, you will need the following materials:
- Pencil set
- Drawing paper
- Eraser
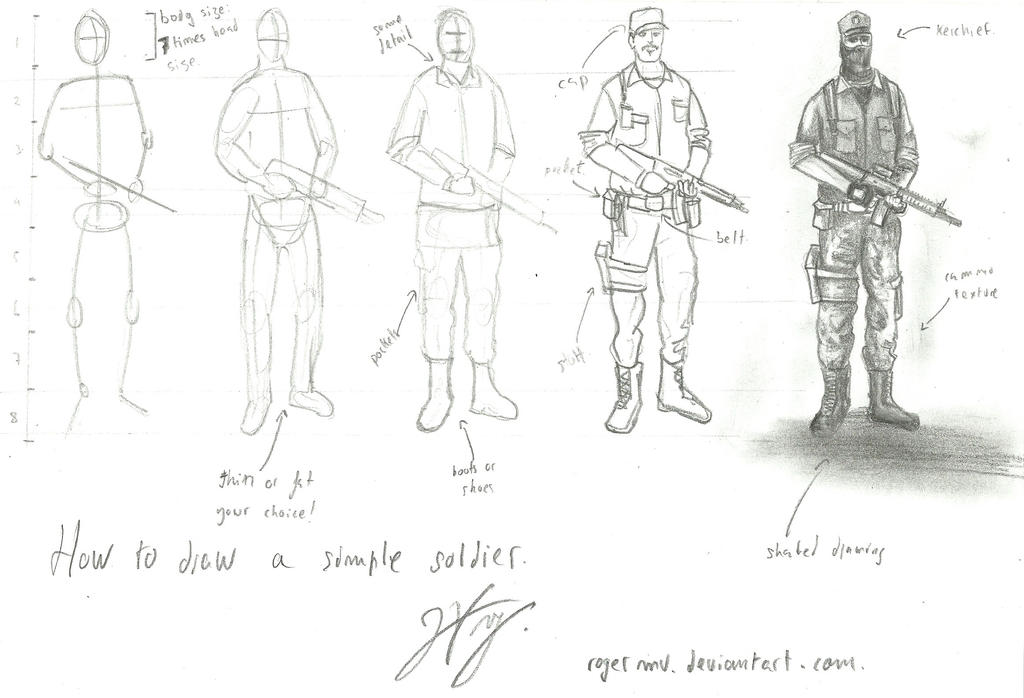
Step 1: Sketching the basic body shape
Start by sketching the basic body shape of the soldier using simple shapes like circles and rectangles. This will serve as a guide for adding details later on.
Step 2: Adding facial features and uniforms
Next, add facial features and details to the soldier’s face. Pay attention to the unique features of the soldier’s uniform and incorporate them into your drawing.
Step 3: Creating realistic proportions
To create realistic proportions, use a reference image or compare your drawing to a real-life soldier. Pay attention to the length and width of body parts and make any necessary adjustments.
Step 4: Adding details like weapons and accessories
Once you have established the basic body shape, facial features, and proportions, add details like weapons and accessories. Use references or imagination to add these elements realistically.
Step 5: Shading and highlighting
Add shading and highlights to your soldier drawing to create depth and dimension. Pay attention to light sources and add shadows and highlights accordingly.
Step 6: Completing the soldier drawing
To complete your soldier drawing, step back and evaluate your work. Make any necessary adjustments or enhancements and erase any visible pencil lines. Use a blending stump to smudge and blend certain areas for a polished finish.
Tutorial 6: Drawing the Indian National Flag
Materials needed
To draw the Indian National Flag, you will need the following materials:
- Pencil
- Drawing paper
- Watercolors or colored pencils
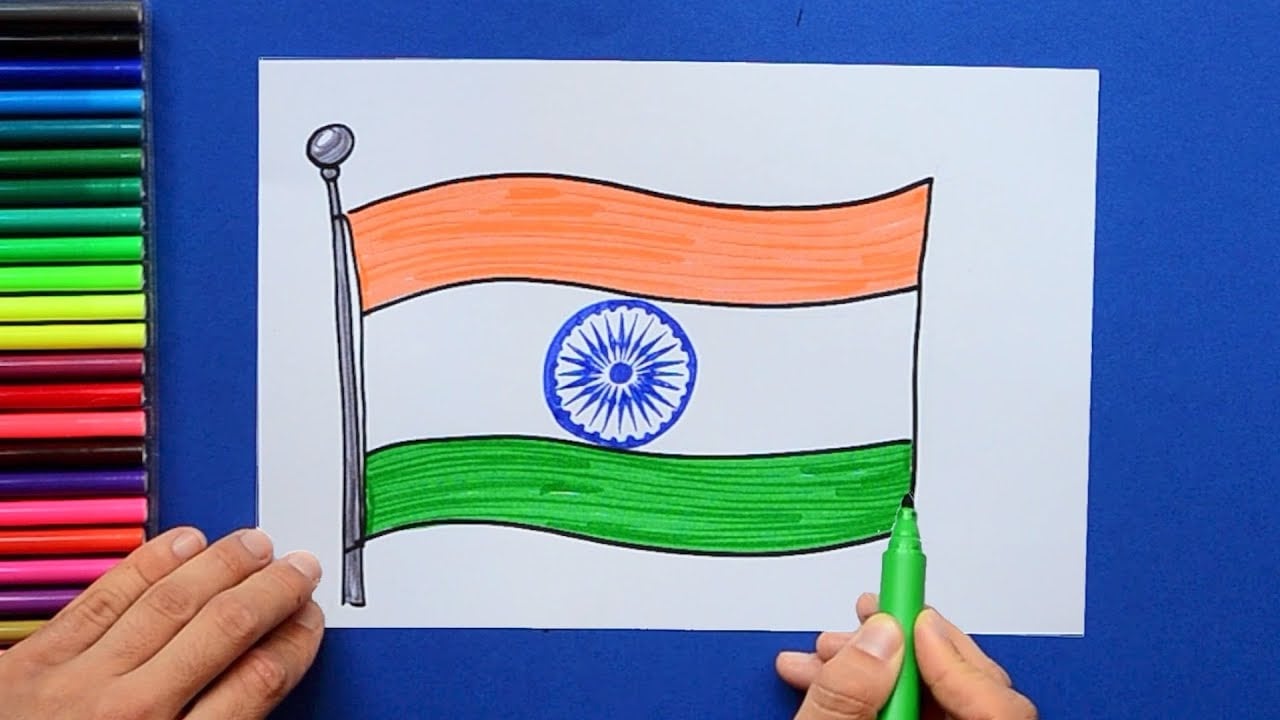
Step 1: Drawing the rectangular shape
Start by drawing a rectangle on your drawing paper. Use a ruler to make sure the sides are straight and the proportions are accurate.
Step 2: Adding the three horizontal colors
Next, divide the rectangle into three equal horizontal sections. The top section should be saffron, the middle white, and the bottom green. Use colored pencils or watercolors to fill in the colors.
Step 3: Adding the Ashoka Chakra
In the middle of the white section, draw the Ashoka Chakra. This is a 24-spoke wheel with a navy blue color. Pay attention to the details and make sure the proportions are accurate.
Step 4: Coloring the flag accurately
Use colored pencils or watercolors to color the Ashoka Chakra in navy blue. Pay attention to the details and make sure the colors are accurate to the Indian National Flag.
Step 5: Final touches and details
Step back and evaluate your drawing of the Indian National Flag. Make any necessary adjustments or enhancements. Add any final details or highlights to complete the drawing.
Tutorial 7: Drawing Other Elements
Materials needed
To draw other elements related to the armed forces, gather the following materials:
- Pencil set
- Drawing paper
- Eraser

Step 1: Choosing the specific element
Start by choosing a specific element related to the armed forces that you want to draw. This could be a war memorial, a military vehicle, or any other symbol associated with the armed forces.
Step 2: Sketching the outline
Using a pencil, sketch the outline of the chosen element. Pay attention to the proportions and details to capture the essence of the element.
Step 3: Adding colors or shading
Next, add colors or shading to your drawing to bring the element to life. Use colored pencils or shading techniques with pencils to create depth and dimension.
Step 4: Adding details and highlights
Once you have added the base colors or shading, add finer details and highlights to your drawing. Pay attention to smaller elements and textures to make your drawing more realistic.
Step 5: Finalizing the element drawing
To finalize your drawing of the chosen element, step back and evaluate your work. Make any necessary adjustments or enhancements. Erase any visible pencil lines and add any final touches to complete your artwork.
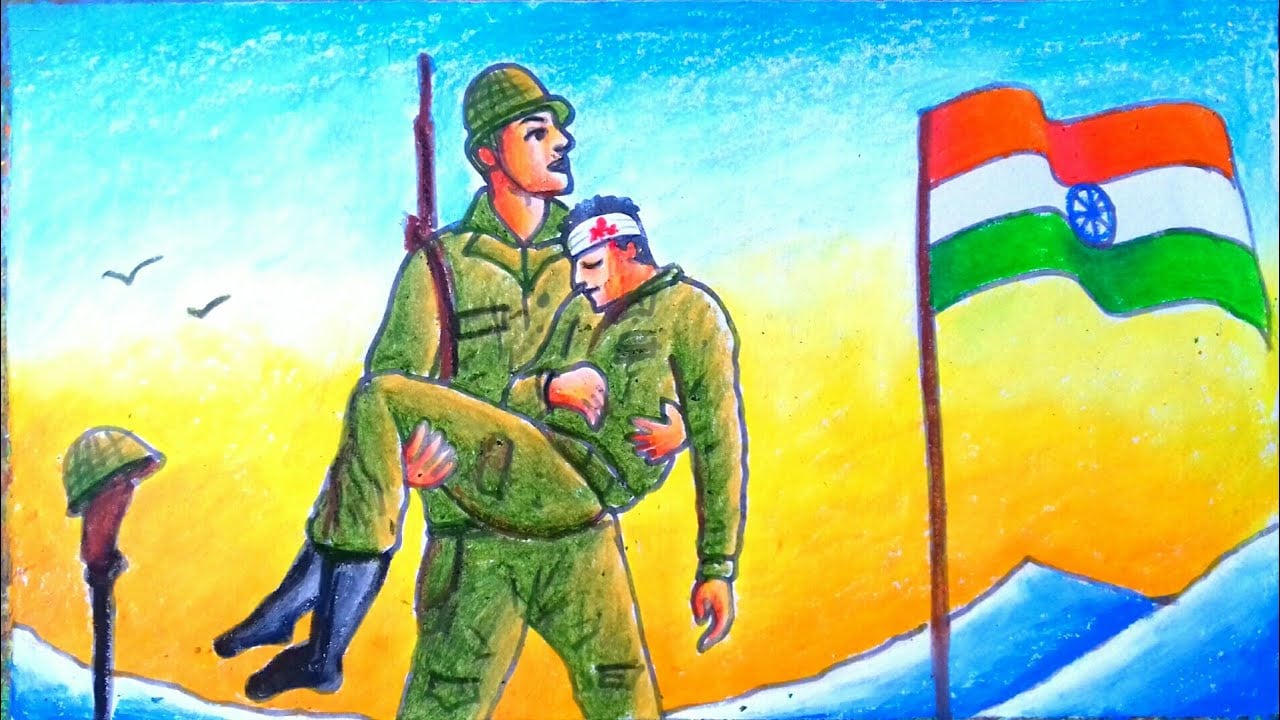
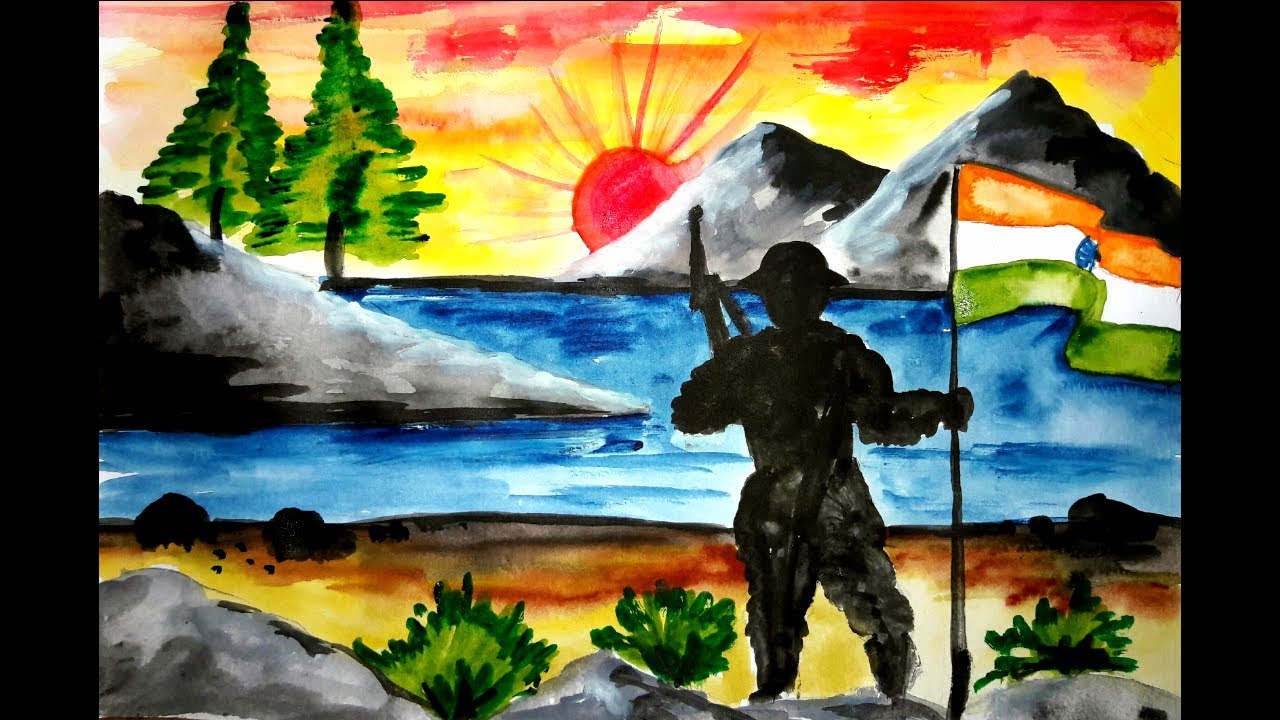
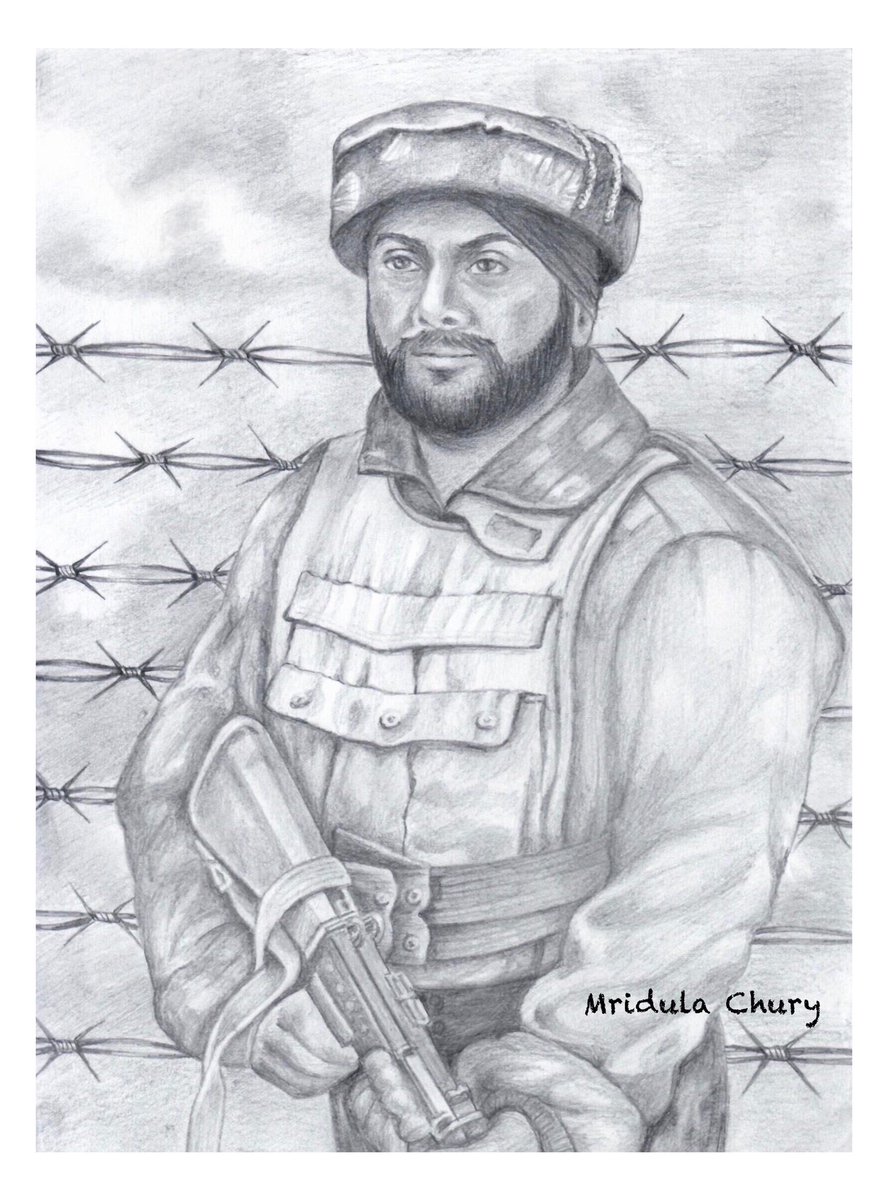
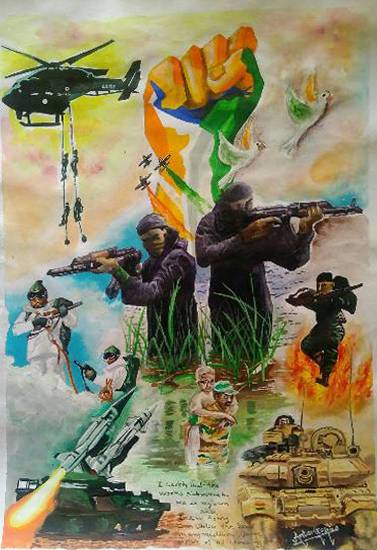
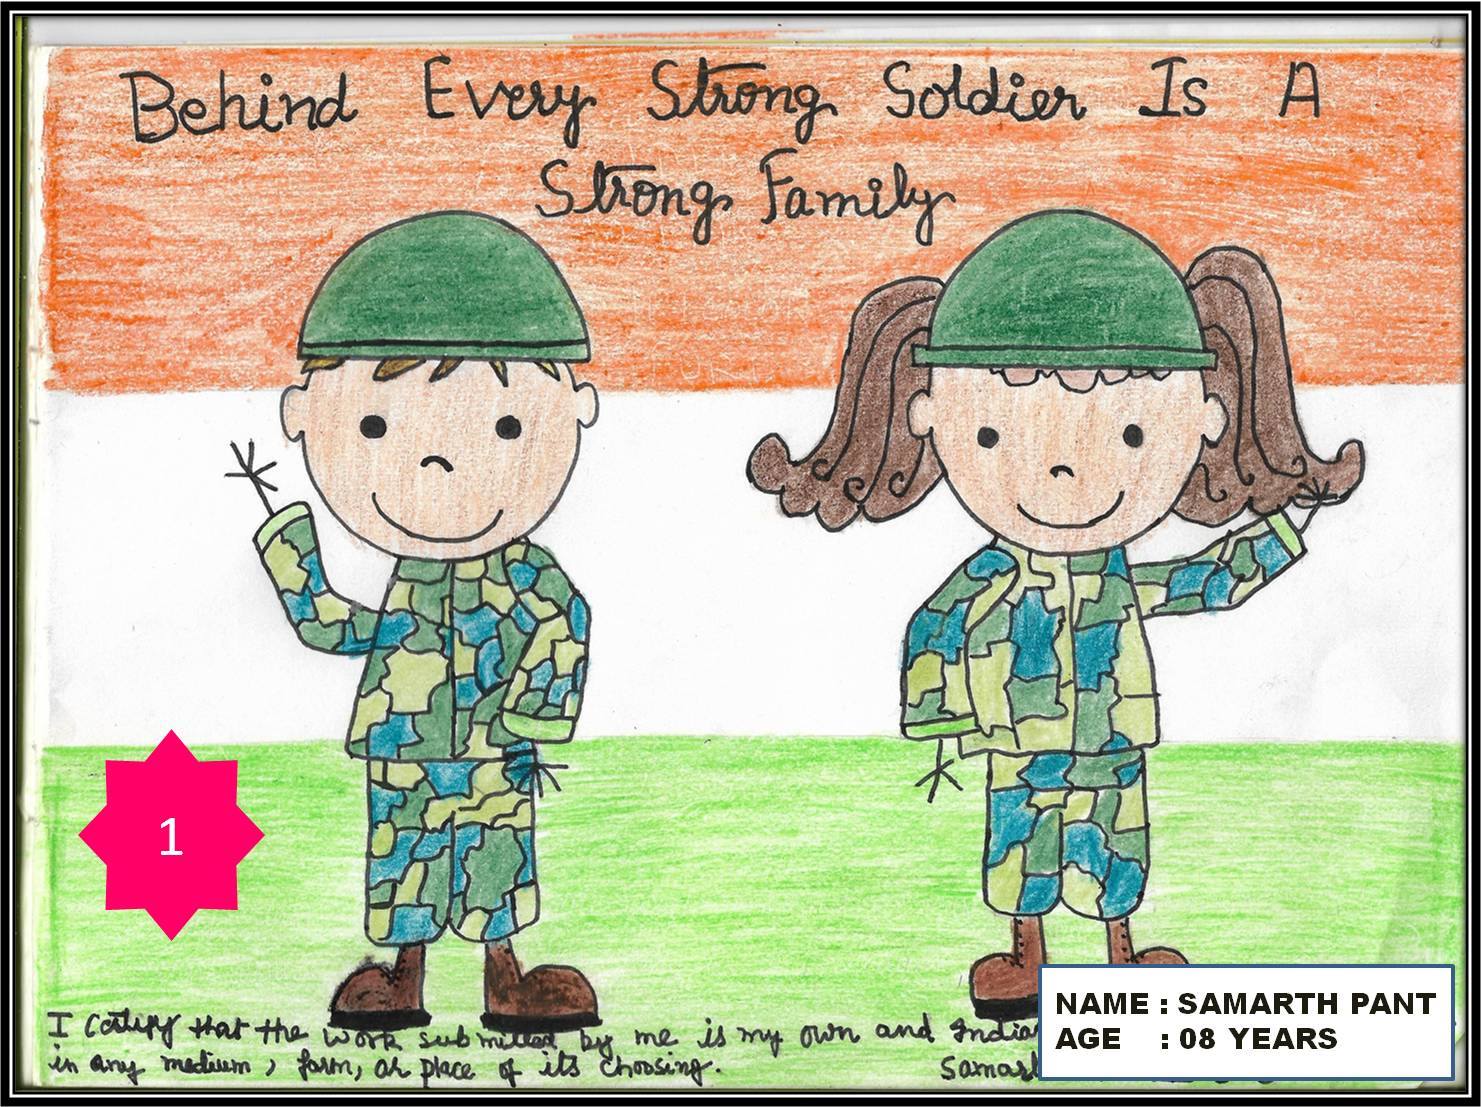
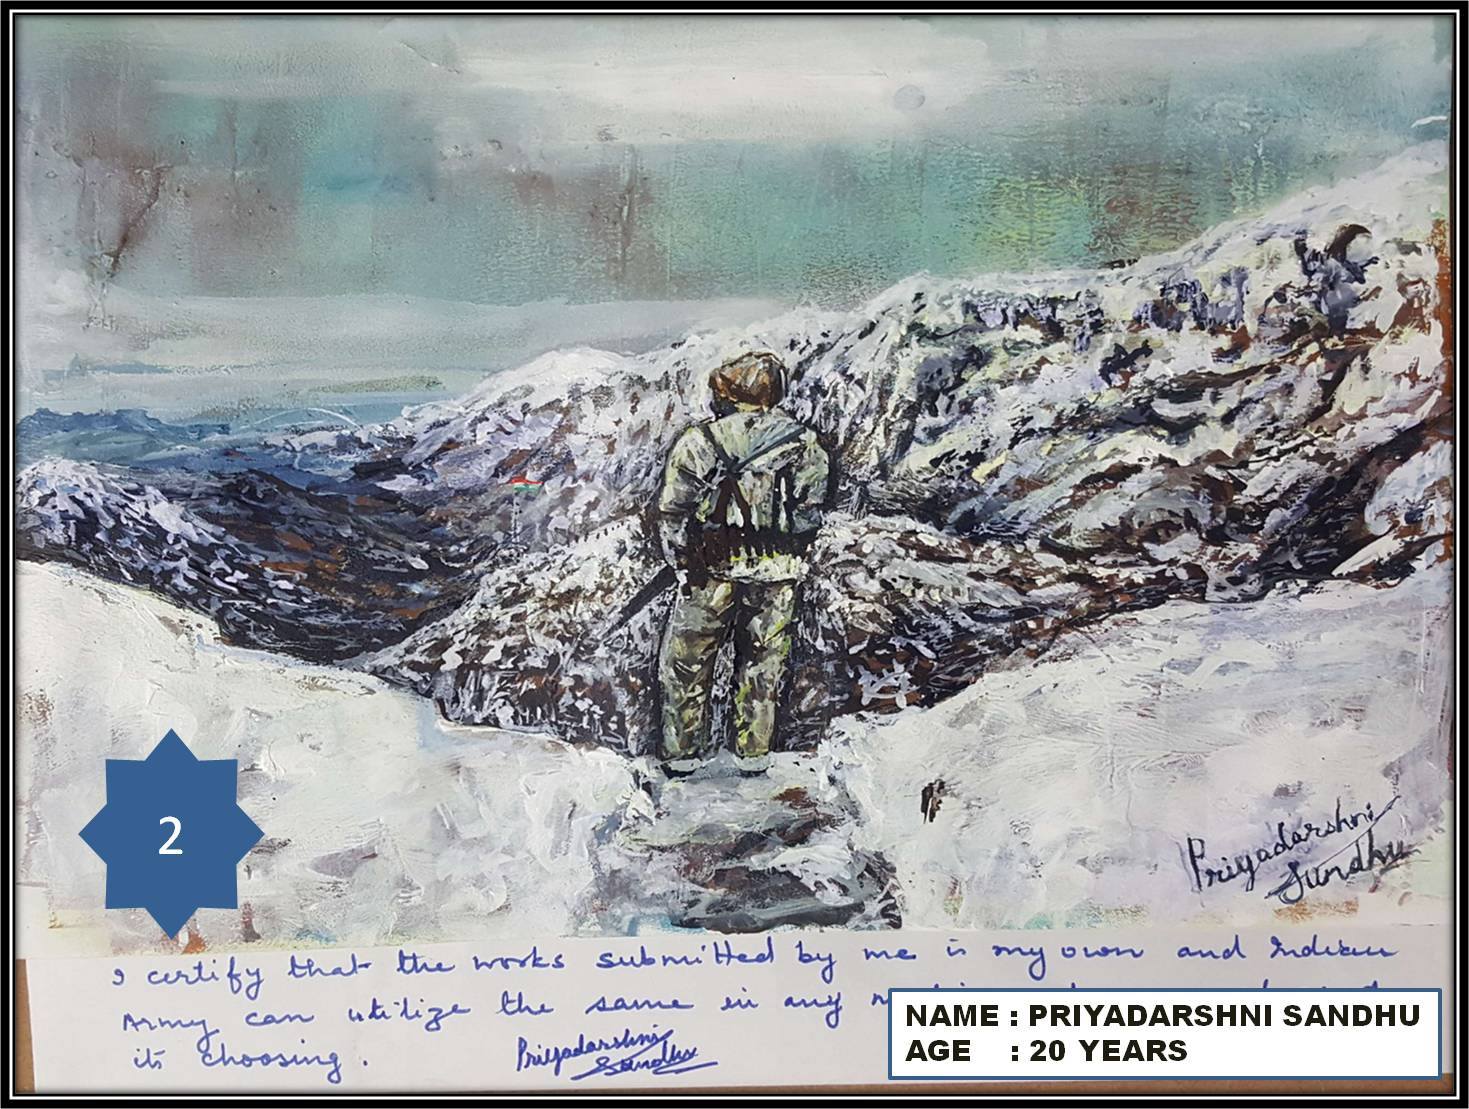
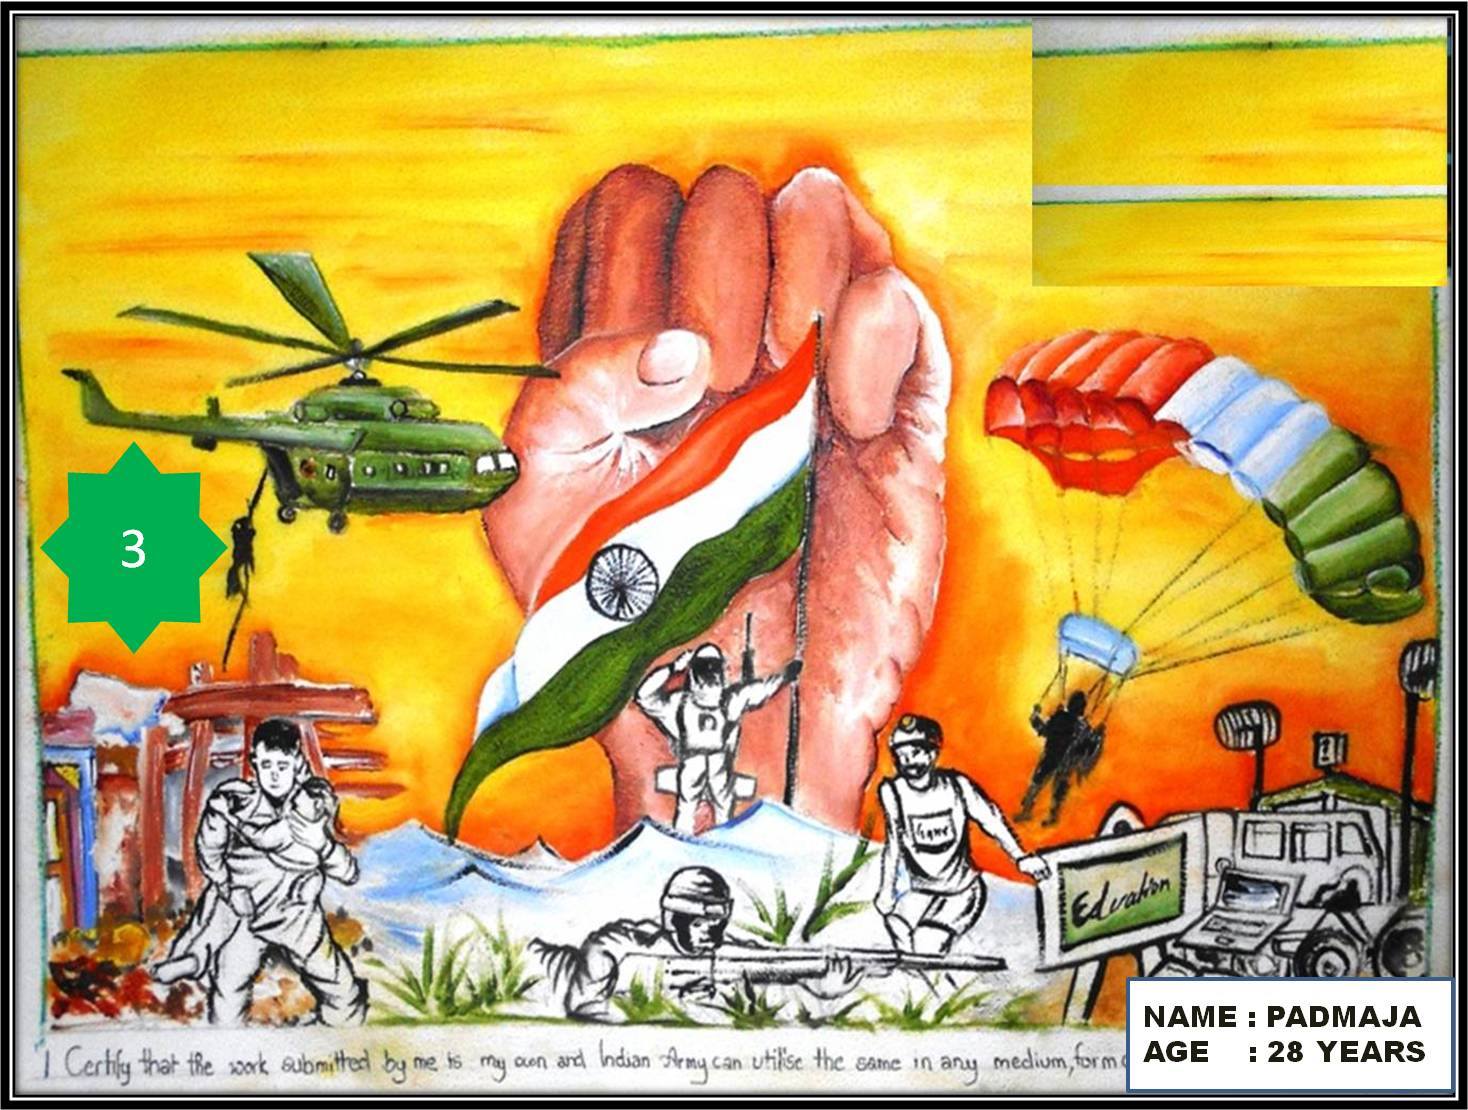
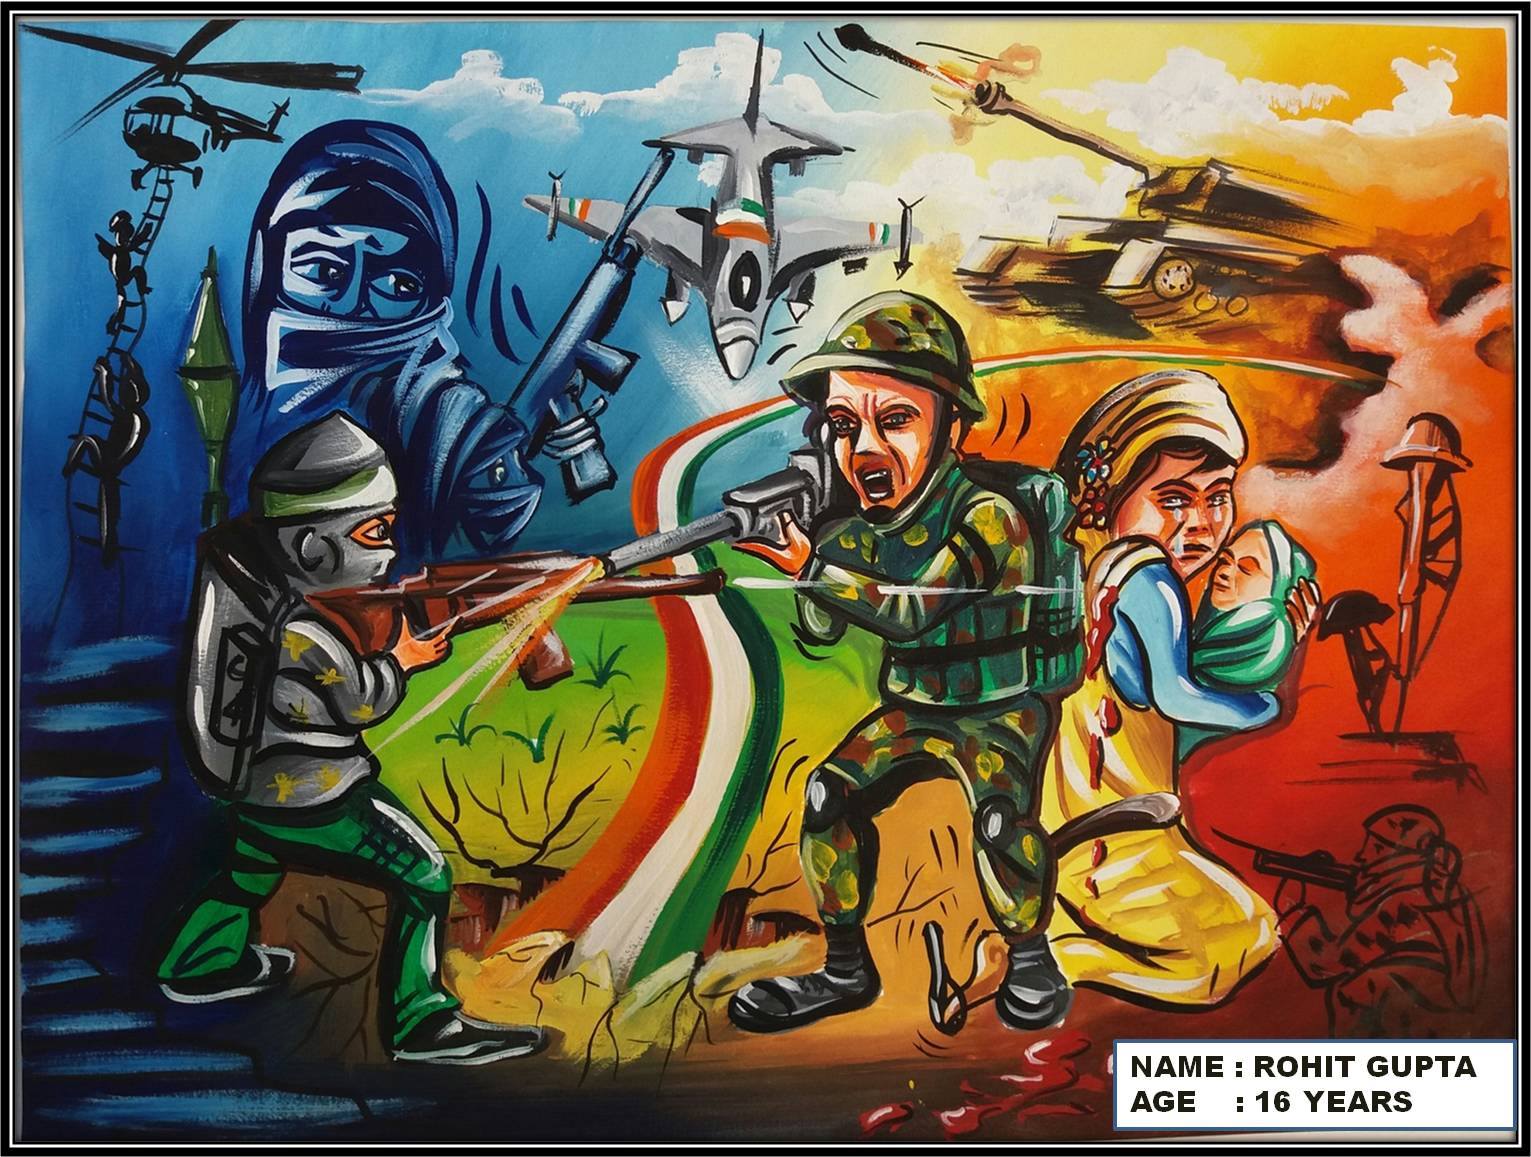
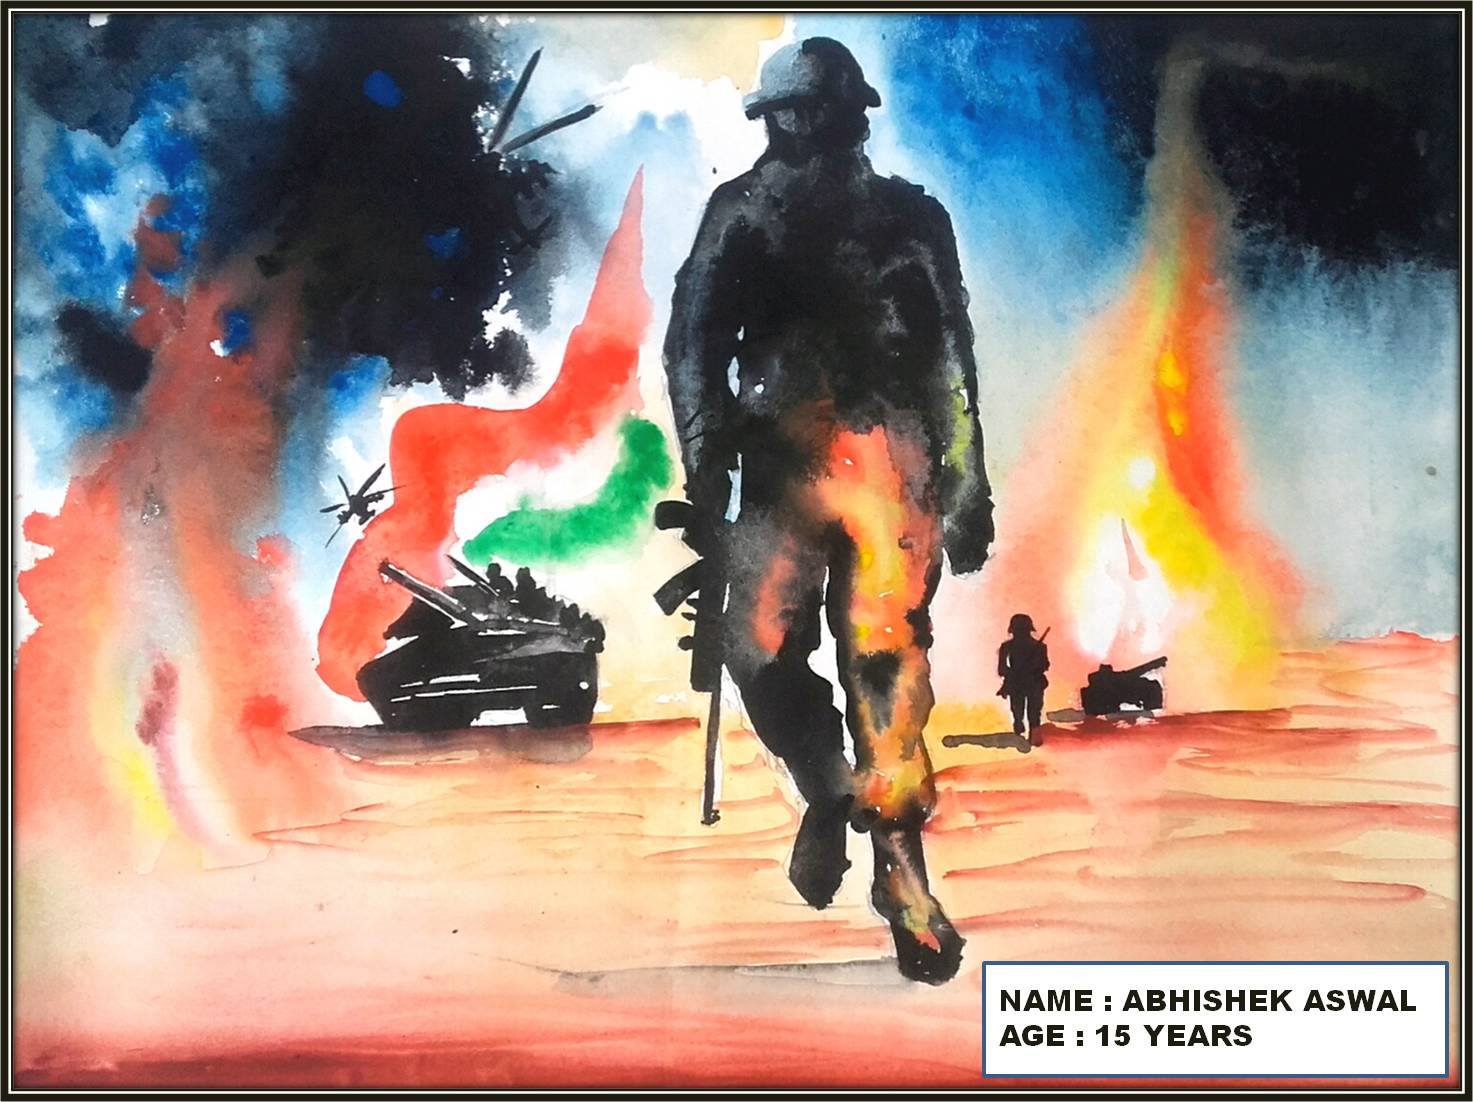
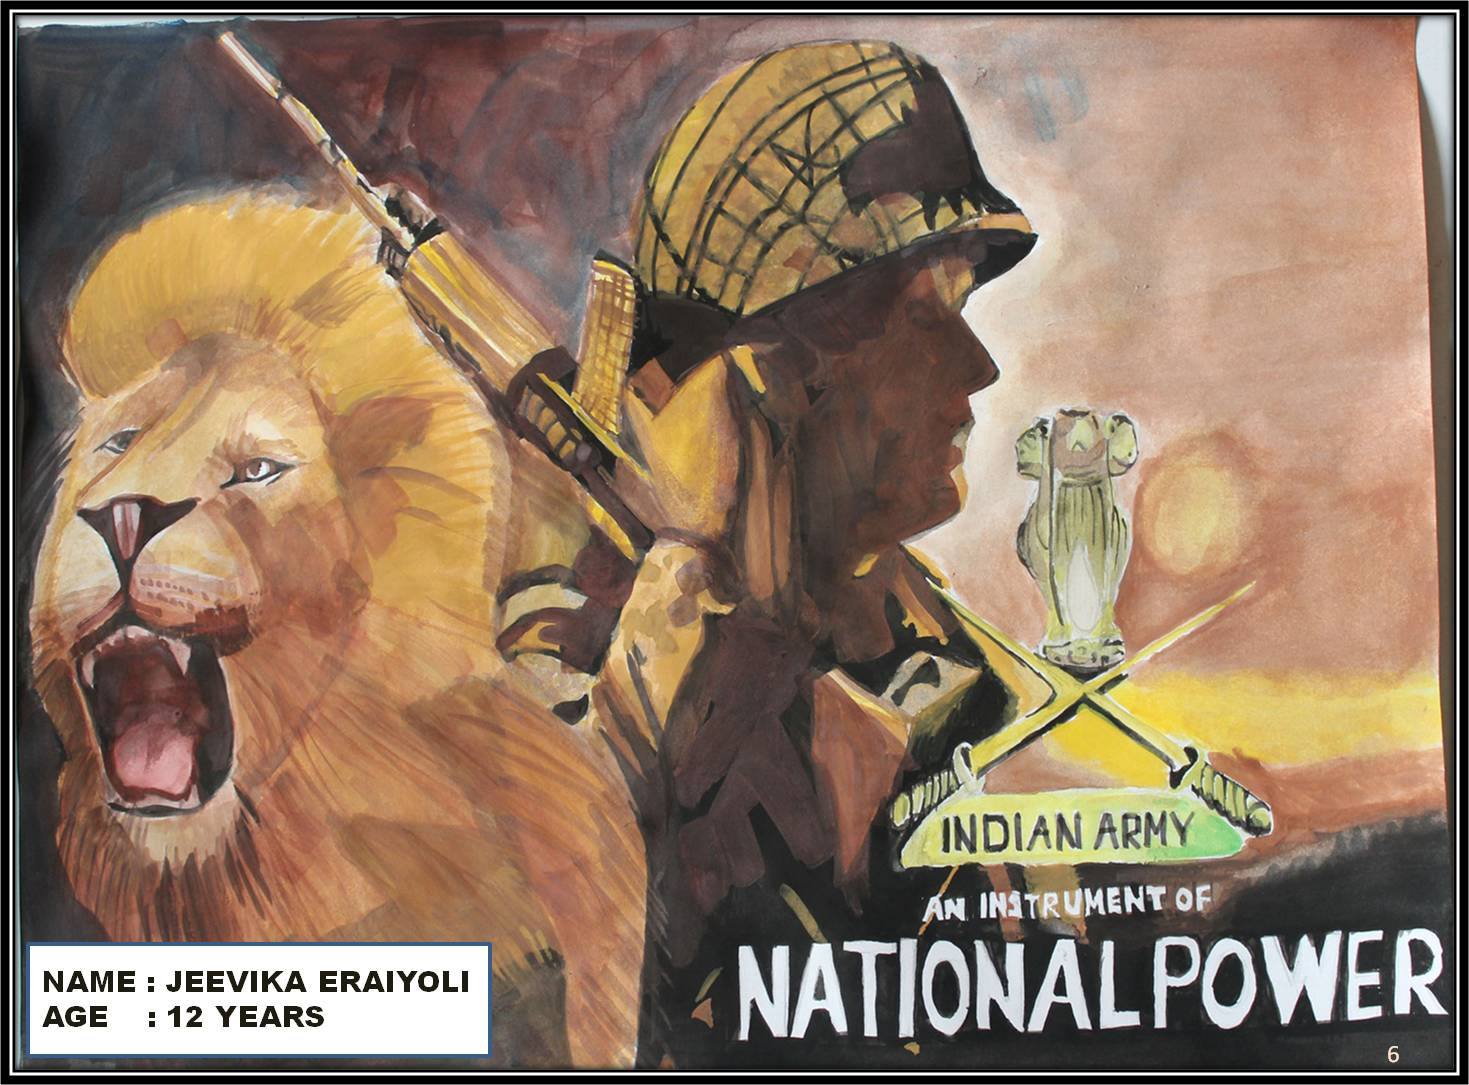
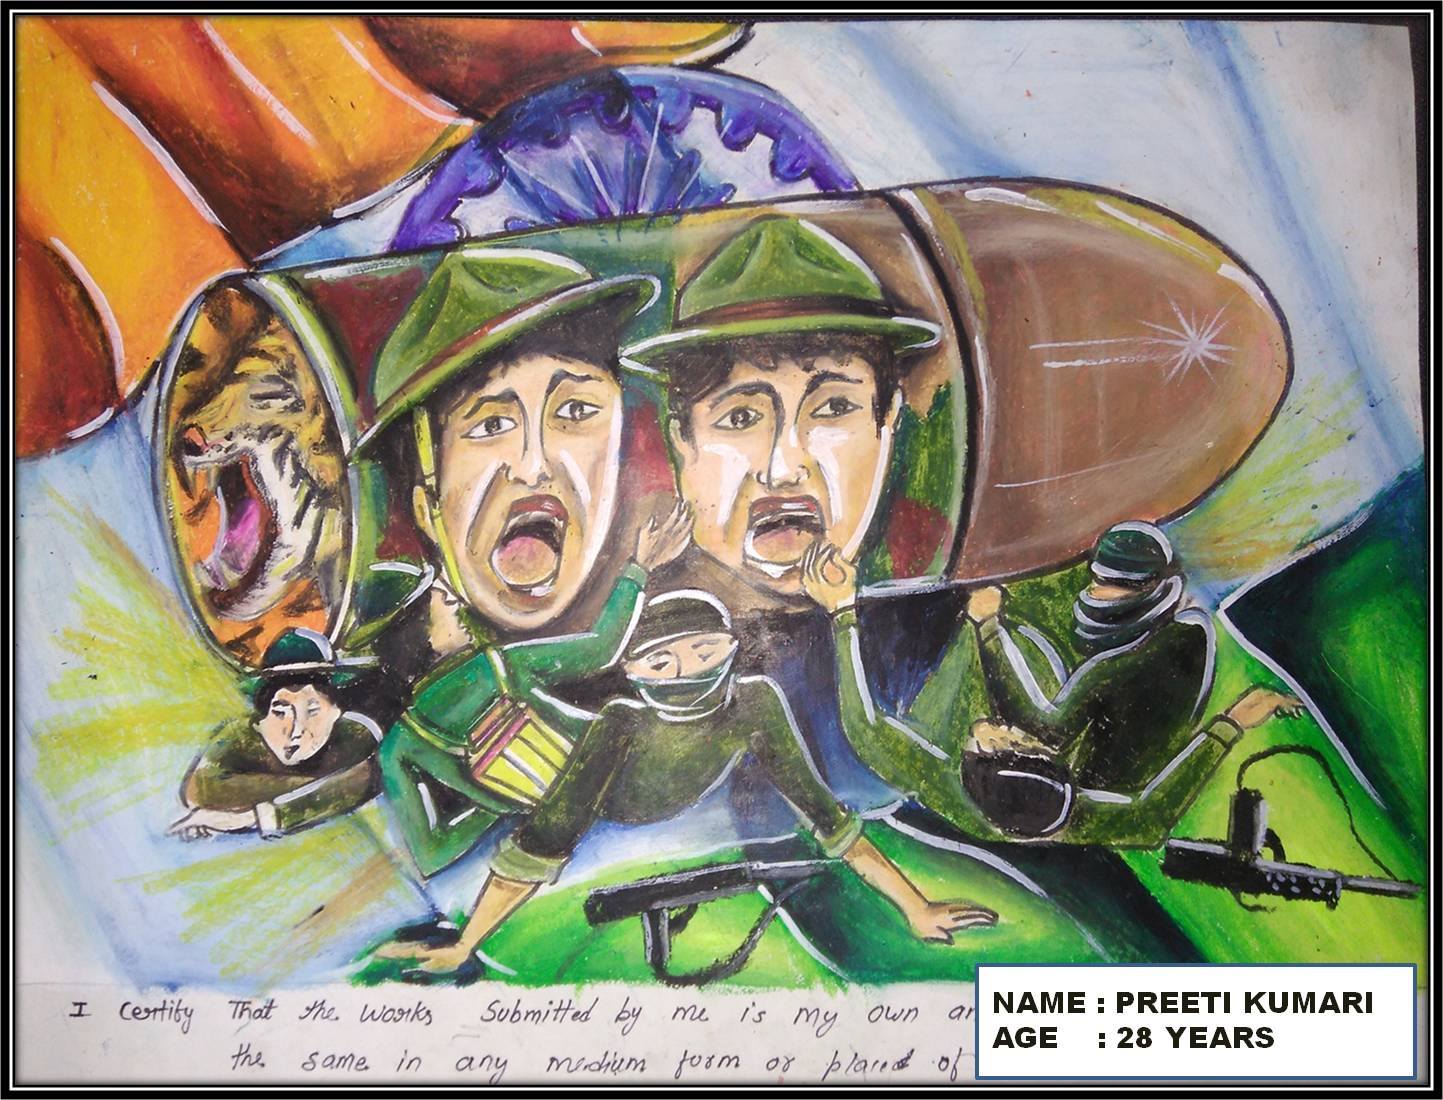
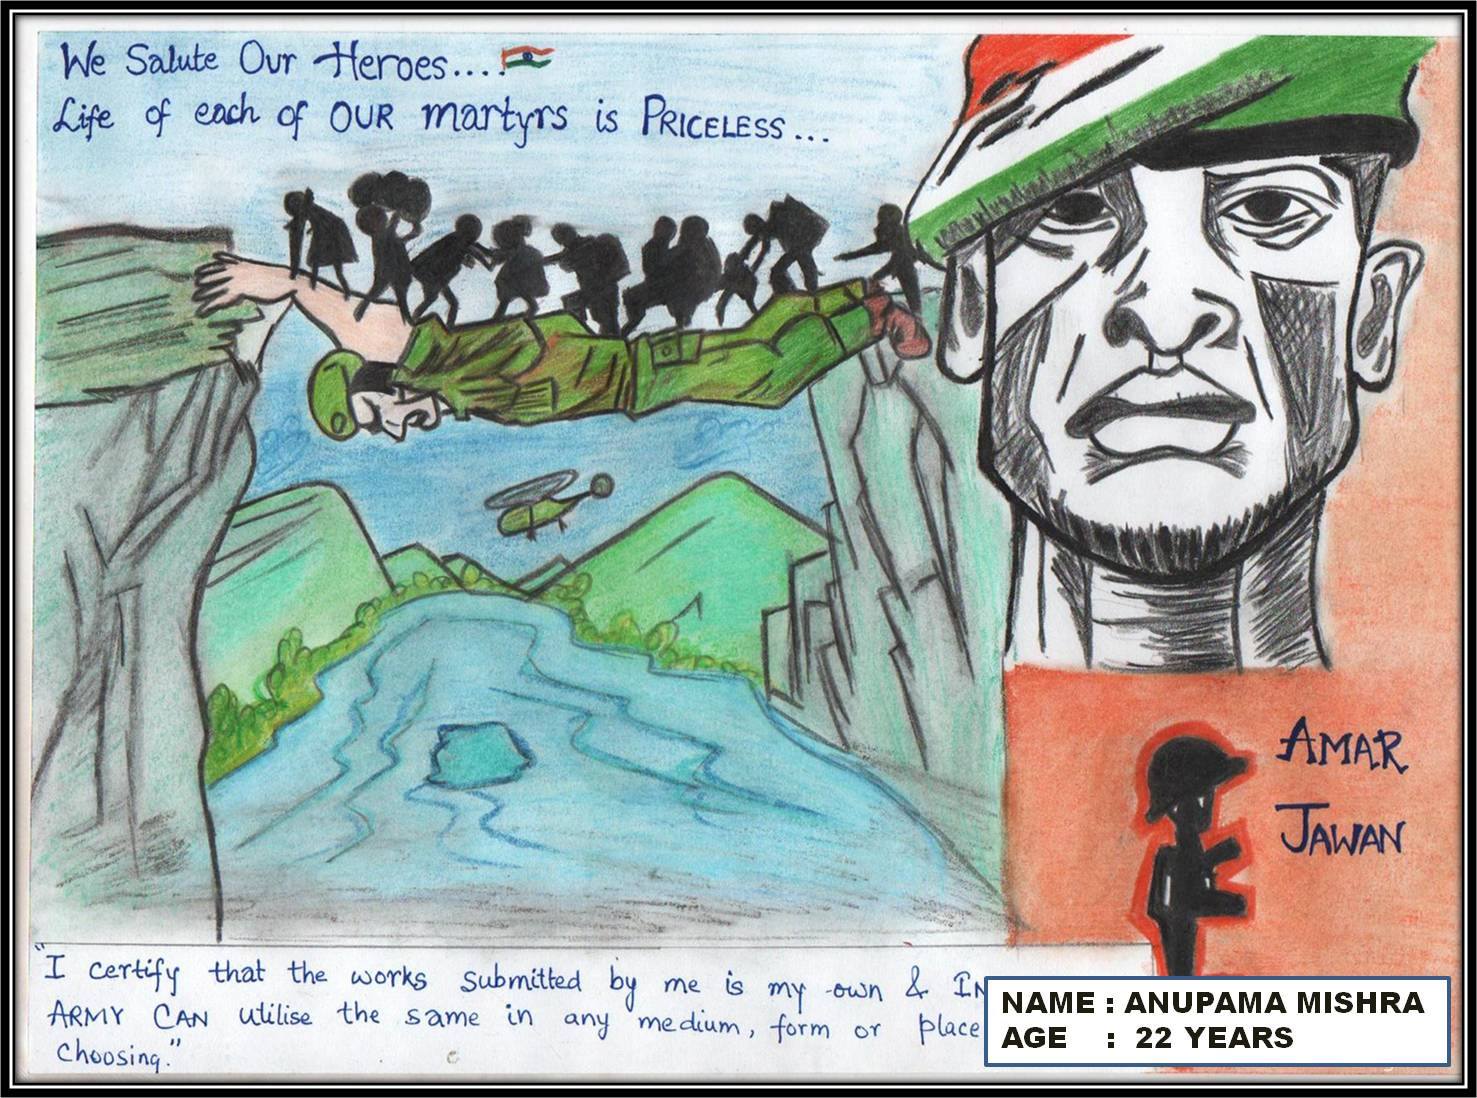
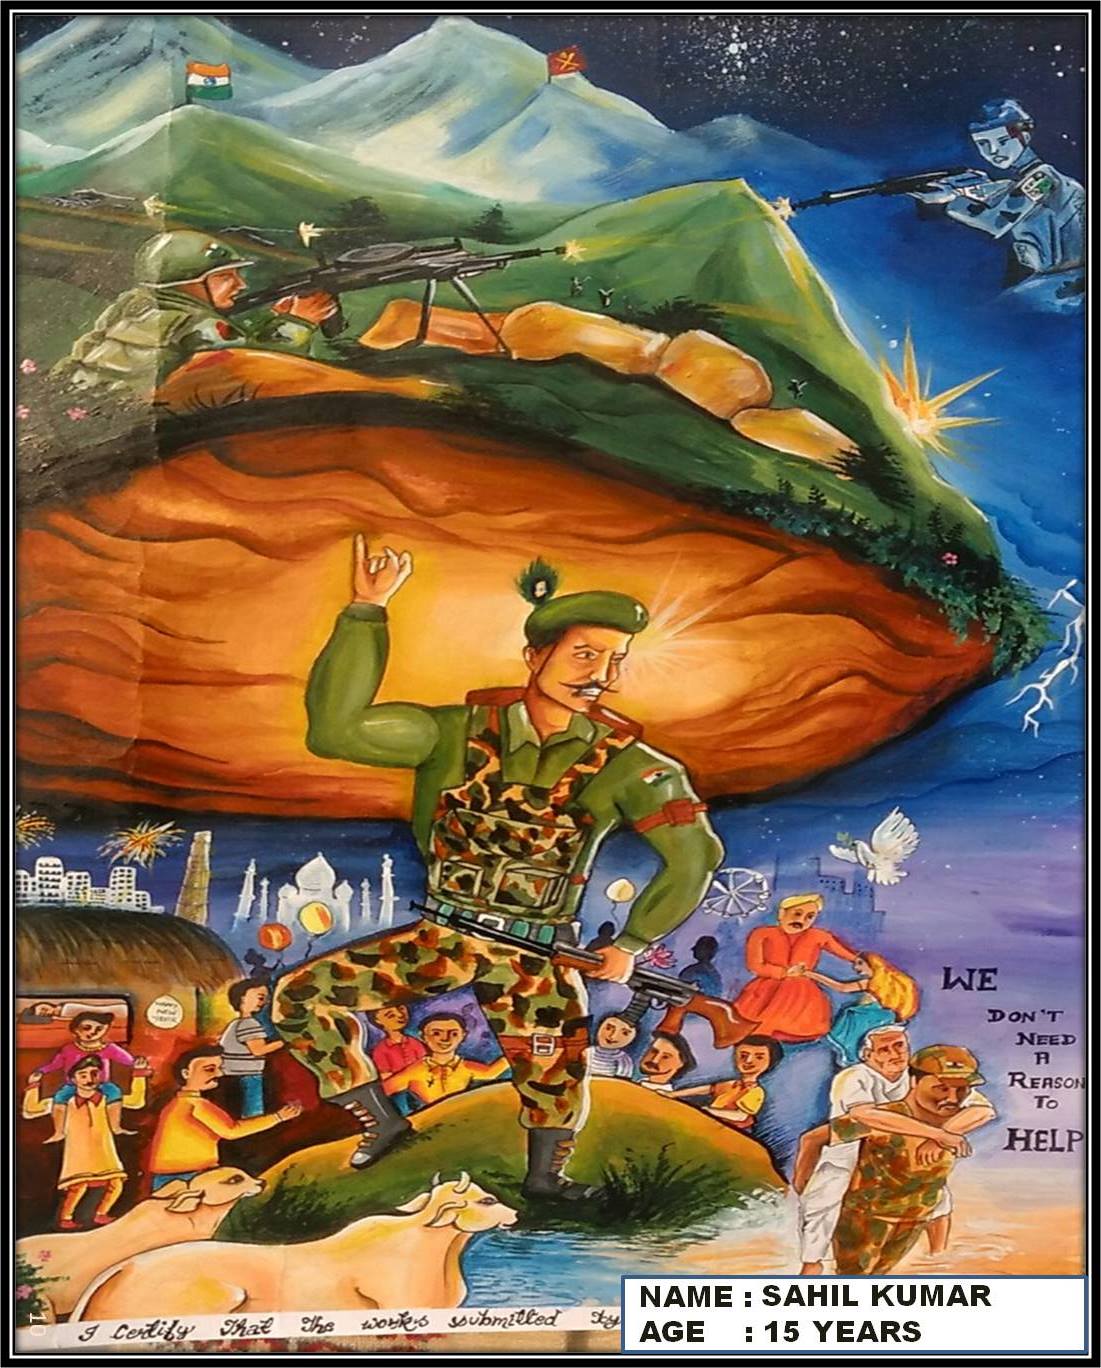
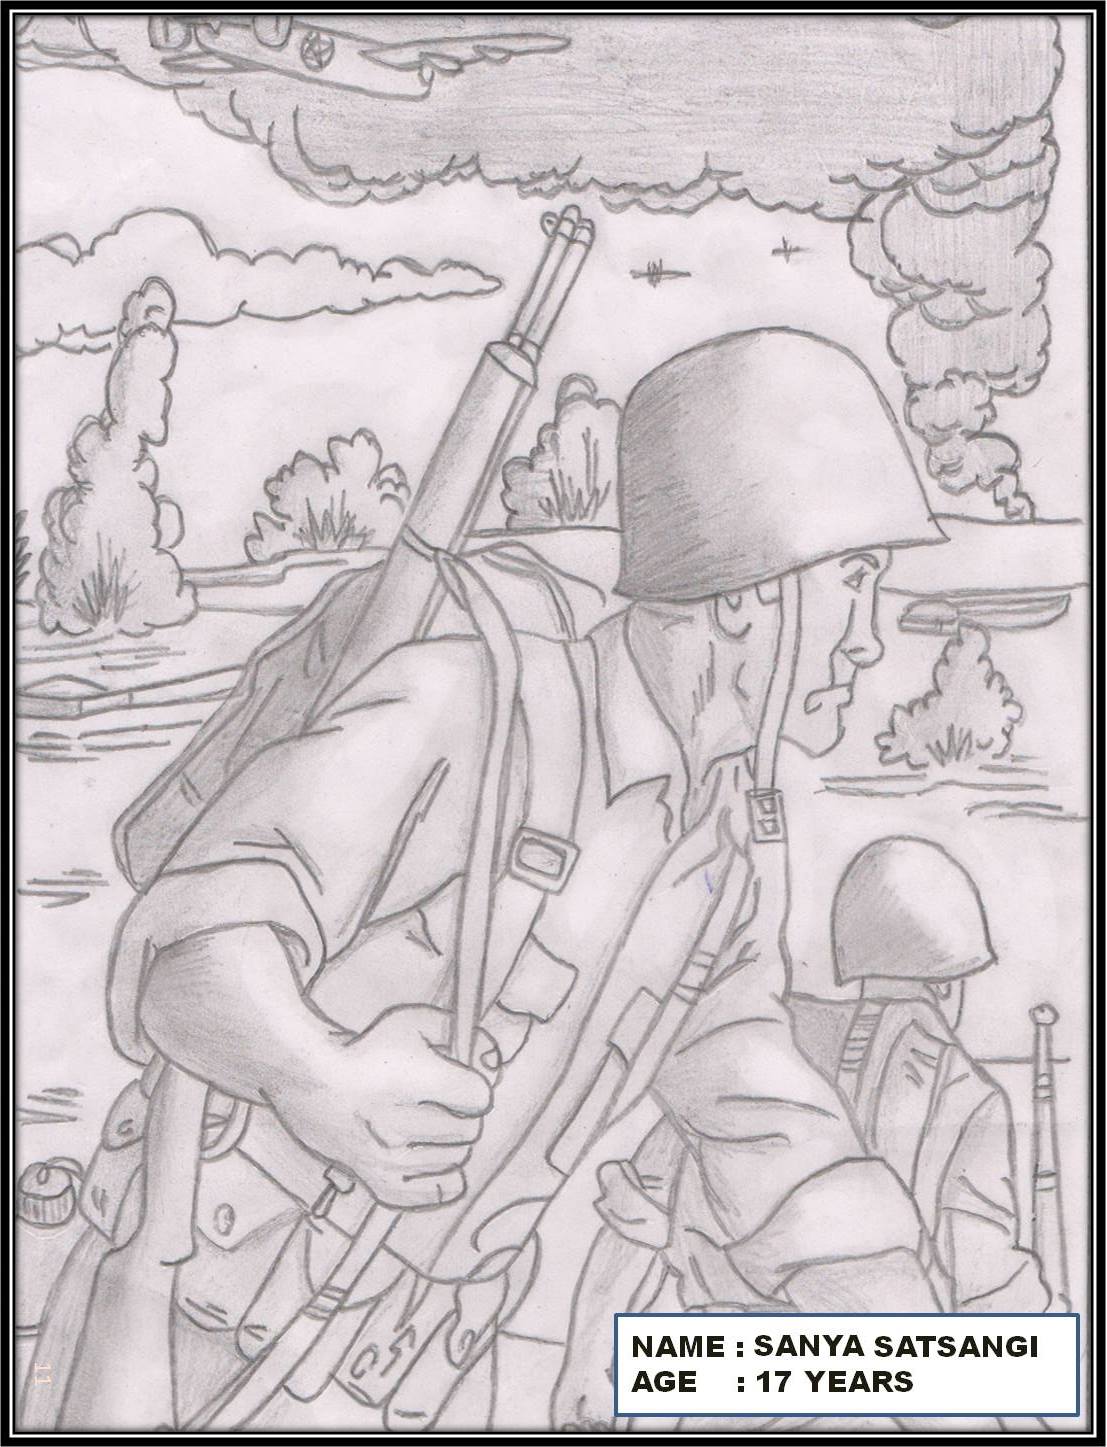
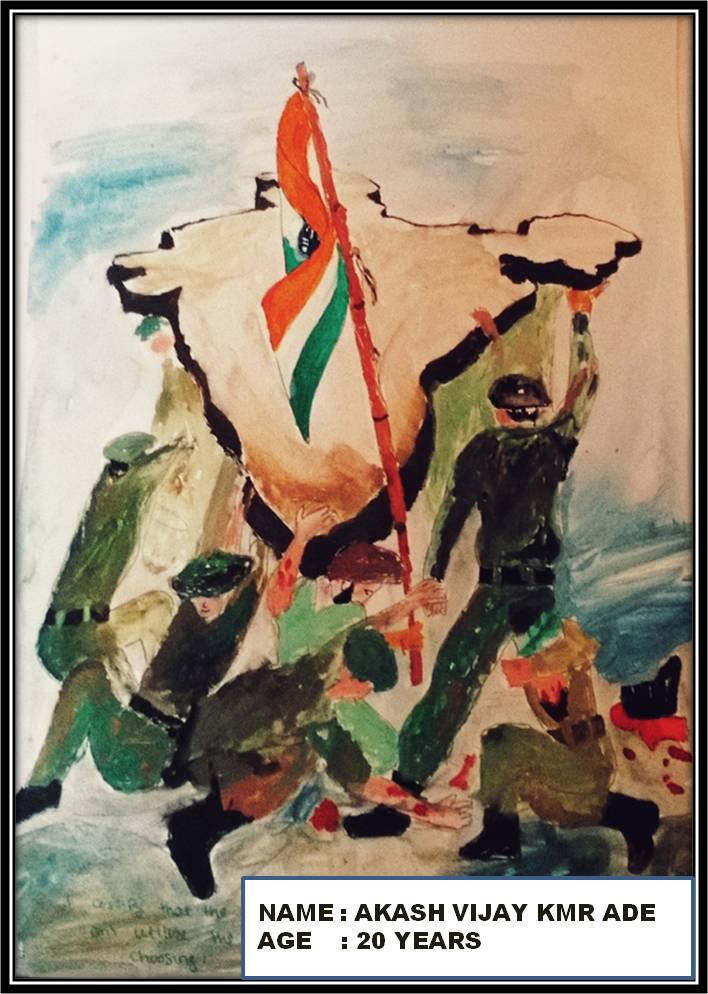
Sample Indian Army Drawing Pictures


Conclusion
In conclusion, the step-by-step tutorials provided in this article aim to help children pay tribute to soldiers and appreciate their bravery and valor. By learning to draw different army-related themes, children can gain a better understanding of the sacrifices made by armed men and women to keep our nation safe. It is important to encourage children to develop an appreciation for the armed forces and the role they play in safeguarding our country. Let these tutorials serve as a reminder of the importance of honoring the sacrifices of our armed forces and to instill a sense of respect and gratitude in the younger generation.